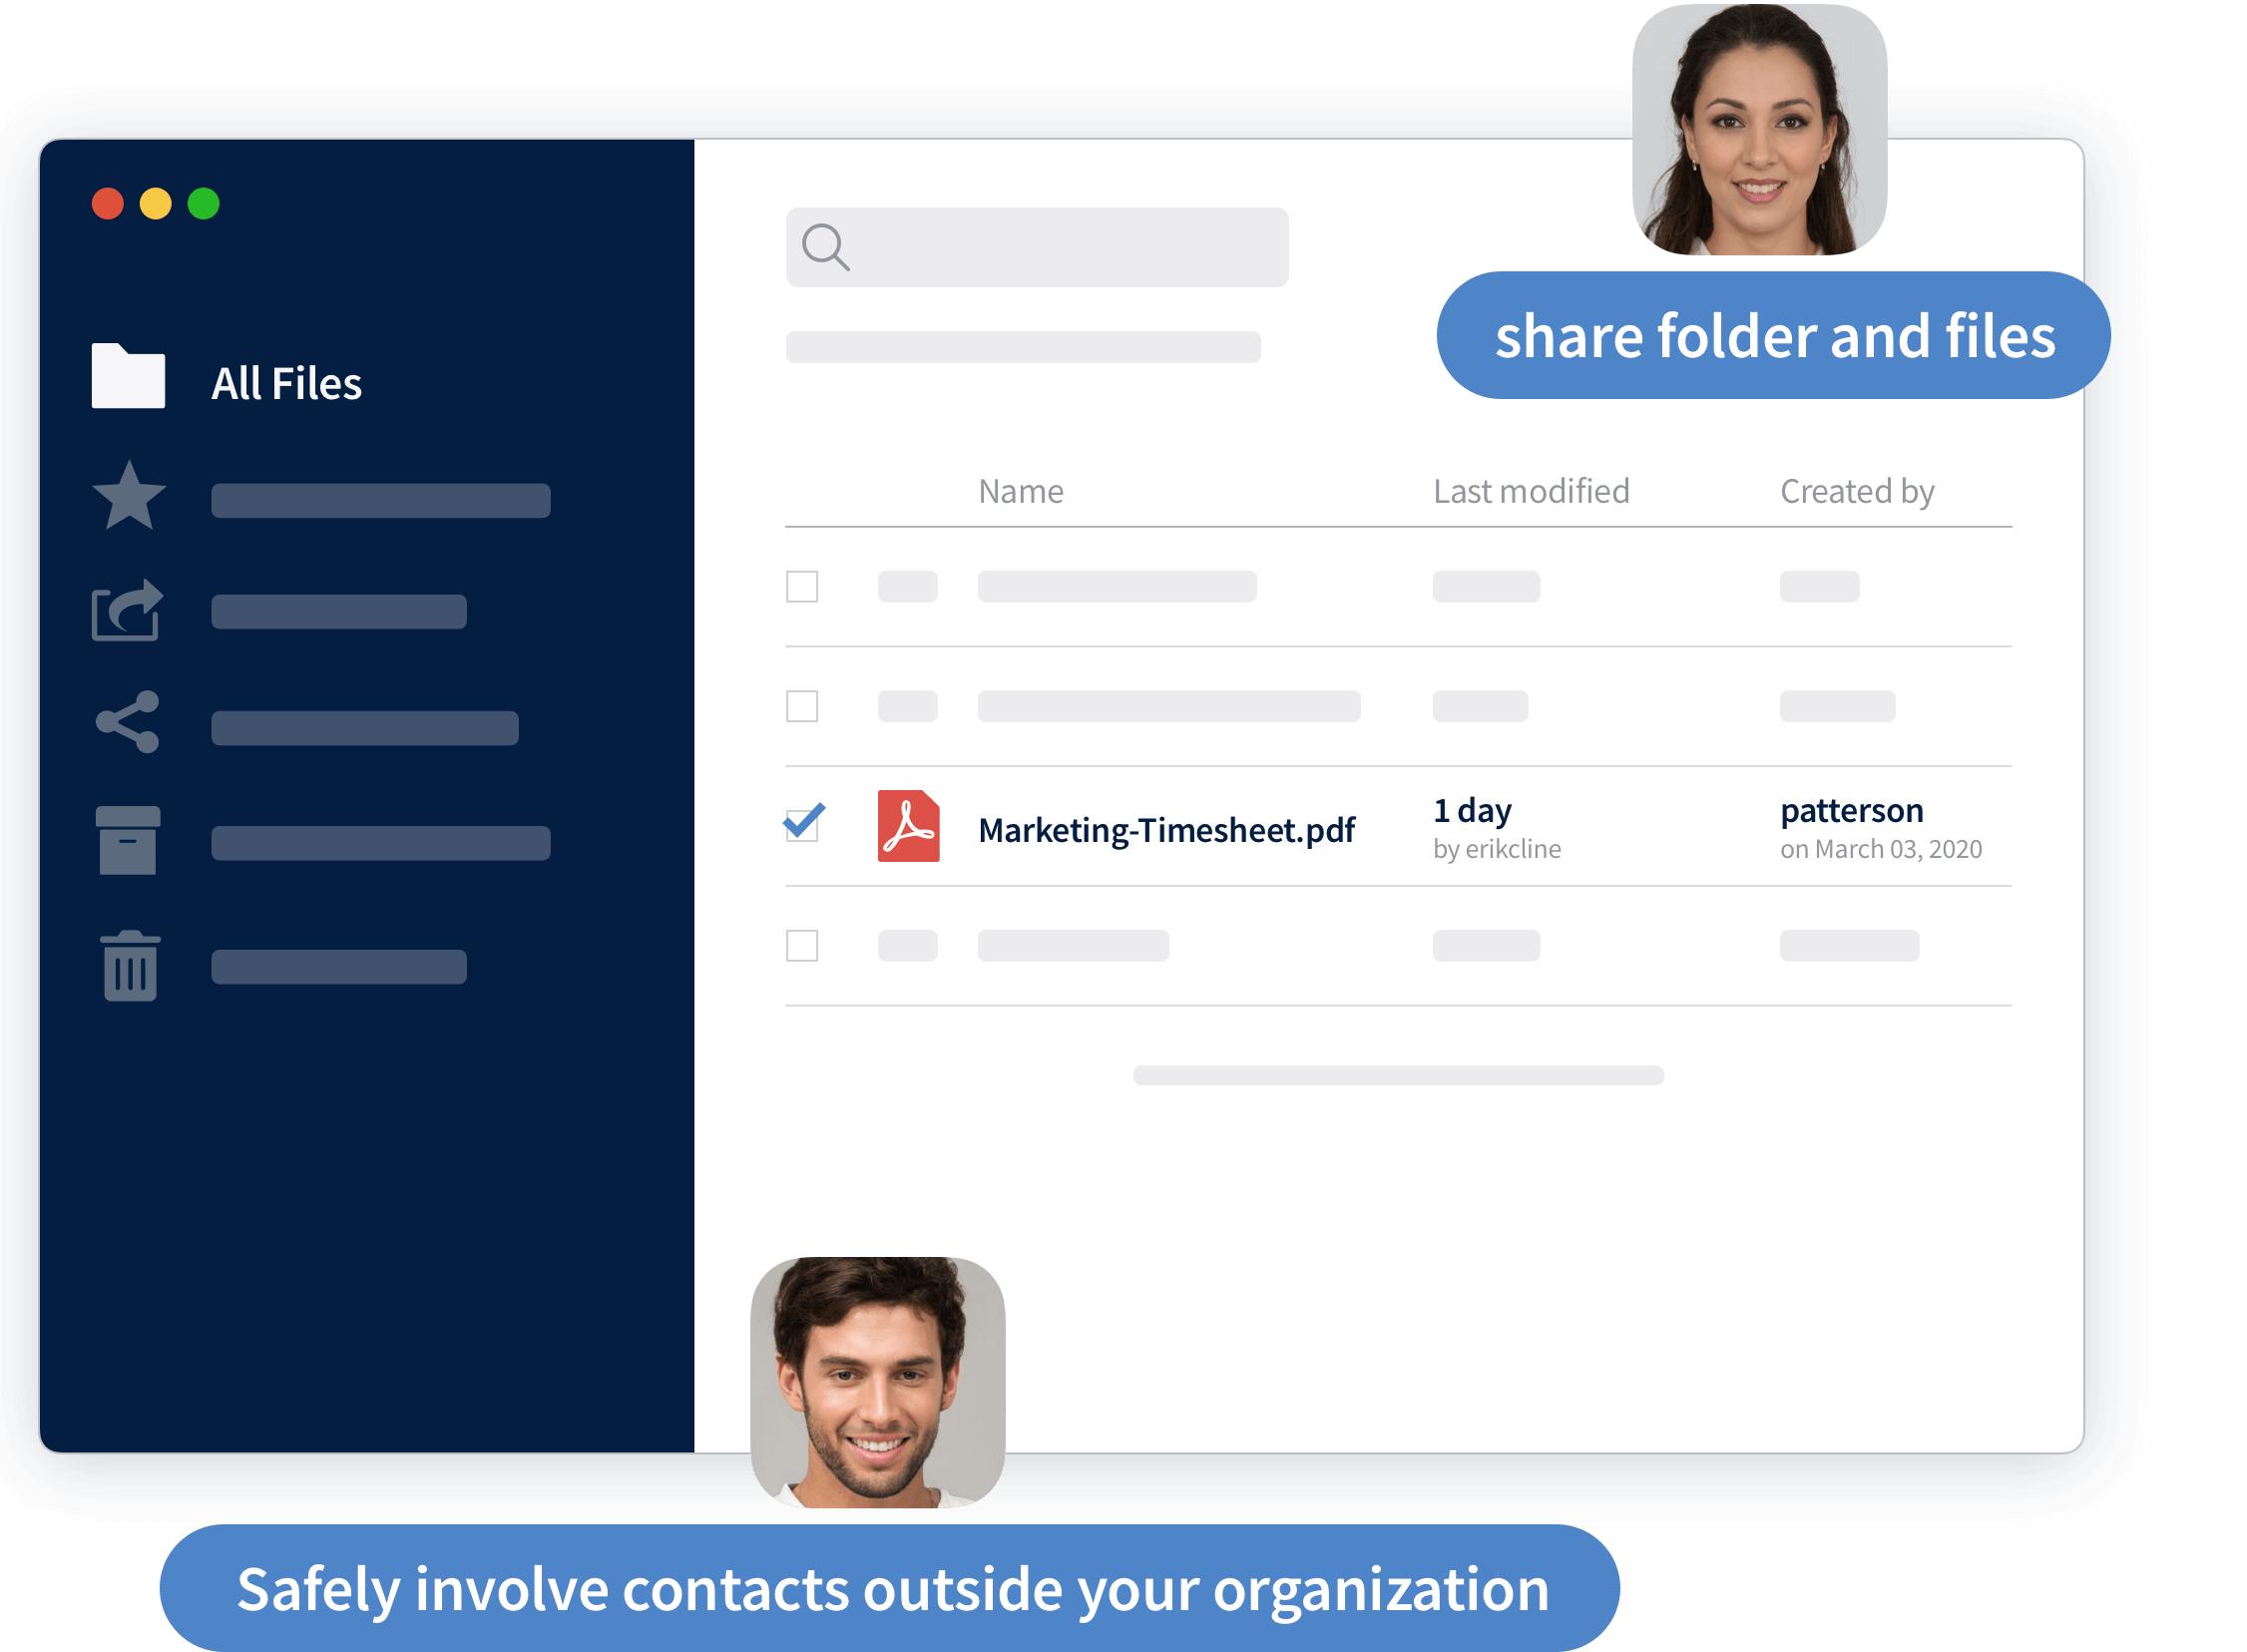
Owncloud is a set of collaboratory tools that allow users to store their files, share them and easily collaborate on the same data. It’s an open-source project, so you can download and deploy it on your server without paying anything. Owncloud is a very popular files sharing solution and is extremely used with around 200 million users around the world.
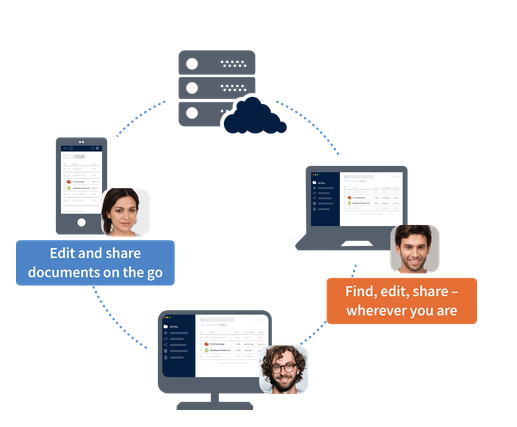
Owncloud has a rich ecosystem and is accessible through various platforms: web, desktop, android, and iOS. It is a suitable solution for all kinds of people, from individual people to big companies with solely the aim to increase productivity. It allows you to build your cloud infrastructure like dropbox to gain your data sovereignty from big tech companies offering cloud storage and file sharing services. You can deploy Owncloud to your server or choose Owncloud Saas to avoid caring about infrastructure.
There is an Owncloud package for all major Linux distributions such as Debian, Ubuntu, Fedora, RedHat Enterprise Linux, CentOS, and OpenSUSE. There is now a docker version of the Owncloud server provided and maintained by Owncloud Inc, the company behind Owncloud. For me, the easy way to deploy it in production is to use docker. So, in this blog post, we will deploy it with docker and perhaps we’ll cover another deployment method in other posts.
Pre-requisite for the deployment of Owncloud
As we choose to deploy Owncloud in production using docker and docker-compose, there are some prerequisites before starting.
- A Linux Server with SSH and root access
- Docker and docker-compose installed on that server
- A domain name pointed to that server
To perform this tutorial, you can easily create a small droplet(Linux Server) for free on DigitalOcean. They offer DigitalOcean offers 200$ free credits for 60 days. Everything being said, let’s focus on the tutorial.
There are too many Linux distributions out there, and everybody should ensure to properly install docker and docker-compose for his Linux distribution. After that, the remaining steps will remain the same for all of you.
Deployment of Owncloud
For Owncloud deployment with docker, we only need two files: a docker-compose file and a .env file. The docker-compose file will allow us to compose the Owncloud server container, MariaDB database, and Redis cached server.
Those files are well configured for a production environment. First, log in to your Linux server with SSH and type the following command to create the directory for Owncloud.
mkdir owncloud && cd owncloudNow, create a file called docker-compose.yml, copy the content shown in the above GitHub gist and paste it into. Do the same for the .env file.
nano docker-compose.yml
nano .env
Note: if you are not familiar with nano editor, just type CTRL+SHIFT+V to paste content, CTRL+o to save and CTRL+x to quit.
Explanation of docker-compose file
Our docker-compose file is written following the docker compose version 3.9 specification. We have three volumes, three services, and one external network.
Owncloud service
It is the Owncloud container with the server code written in the Go programming language responsible for all the work performed by Owncloud. We use the latest version available in Docker Hub as we specified through the environment variable OWNCLOUD_VERSION.
This service depends on mariadb service and redis service means that it starts solely when mariadb and redis services start. We have many environments variable and we’ll just explain a couple of them.
- OWNCLOUD_DB_TYPE=mysql specify the database connector. Owncloud support multiple database engines for production. We have Oracle 11 and 12, PostgreSQL 9, 10, 11, 12, 13 or 14 and MySQL 8+ or MariaDB 10.2, 10.3, 10.4 or 10.5 which is recommended. We use MariaDB 10.5 as recommended by the Owncloud official documentation in this blog post.
- OWNCLOUD_DB_HOST=mariadb is the name of the service in the docker-compose file containing the database. In our file, the service is named mariadb and we put it here to let the Owncloud server know where to find the database.
- OWNCLOUD_ADMIN_USERNAME=${ADMIN_USERNAME} and OWNCLOUD_ADMIN_PASSWORD=${ADMIN_PASSWORD} set the admin username (which can be an email address) and admin password. We keep those values in the .env file to keep them secure because Owncloud used them to create the admin user of our server and those credentials are used to login and manage the server. Make your password secure.
- VIRTUAL_HOST=${OWNCLOUD_DOMAIN} is to tell our reverse proxy server to drive all traffic for OWNCLOUD_DOMAIN to this container.
- LETSENCRYPT_HOST=${OWNCLOUD_DOMAIN} and LETSENCRYPT_EMAIL=${LETSENCRYPT_EMAIL} are used by Let’s Encrypt to issue a free SSL certificate for our domain.
- VIRTUAL_PORT=${HTTP_PORT} is to tell the reverse proxy server the port used by the container for the incoming traffic. This value can be ignored in case the default port is 80. Owncloud used port 8080, it’s why we have set this value.
mariadb service
In the mariadb service, we use four environment variables where MYSQL_USER must be the same as OWNCLOUD_DB_USERNAME; MYSQL_PASSWORD the same as OWNCLOUD_DB_PASSWORD, and finally MYSQL_DATABASE the same as OWNCLOUD_DB_NAME. Those variables must be the same to ensure Owncloud is capable to connect to the MariaDB server.
redis service
Redis is an excellent modern memory cache solution to use for distributed caching. It can be used for single and multi-server ownCloud installations, which provide file locking and can be set up in local or distributed environments. It’s used to improve the performance of an Owncloud server thanks to its faster access.
External network
We want our installation to be protected by an SSL certificate, so we connect our containers to an external network connected to a reverse proxy server. Also, this way of deployment allows us to have multiple applications on the same server with docker and protect all of them with a free SSL certificate.
Explanation of .env file
In the .env file, you must change OWNCLOUD_DOMAIN with your domain, ADMIN_USERNAME with the username or email you want to login to the server, ADMIN_PASSWORD with a strong password, and LETSENCRYPT_EMAIL with the email address to be used by let’s encrypt to issue the SSL certificate.
Let’s start our cloud server
We have explained to you all the configurations in the docker-compose file. These configurations are perfect for the production environment and you can easily adjust them according to your needs.
The external network we declare in the docker-compose file doesn’t exist yet. Let’s create it.
docker network create nginx-proxyThen start your Owncloud instance
docker-compose up --build -d
Our Owncloud instance is now running but is not accessible from the internet. We will now configure Nginx-proxy to drive traffic to it.
Installation of Nginx-proxy and acme-compagnon
Nginx proxy is a container running Nginx and docker-gen which is a service that generates reverse proxy configs for Nginx and reloads Nginx when containers are started or stopped.
This container is mounted on a docker socket to capture all events created by docker to be able to proxied any container with an env variable VIRTUAL_HOST define. All containers that want to be proxied by Nginx-proxy must be connected to the same network with it. To know more about Nginx-proxy, visit the GitHub of the project.
ACME-compagnon is a compagnon for Nginx-proxy responsible to automate the creation, renewal, and use of SSL certificates for proxied Docker containers through ACME protocol. For more information about acme-compagnon, visit the GitHub of the project.
I have a ready-to-use template for Nginx-proxy in my Gitlab repository. You just need to clone and run it. This configuration is well-suited for a production environment. Just type the following command in your terminal to make it run in less than a minute.
cd ~
git clone https://gitlab.com/tderick/nginx-proxy-conf.git
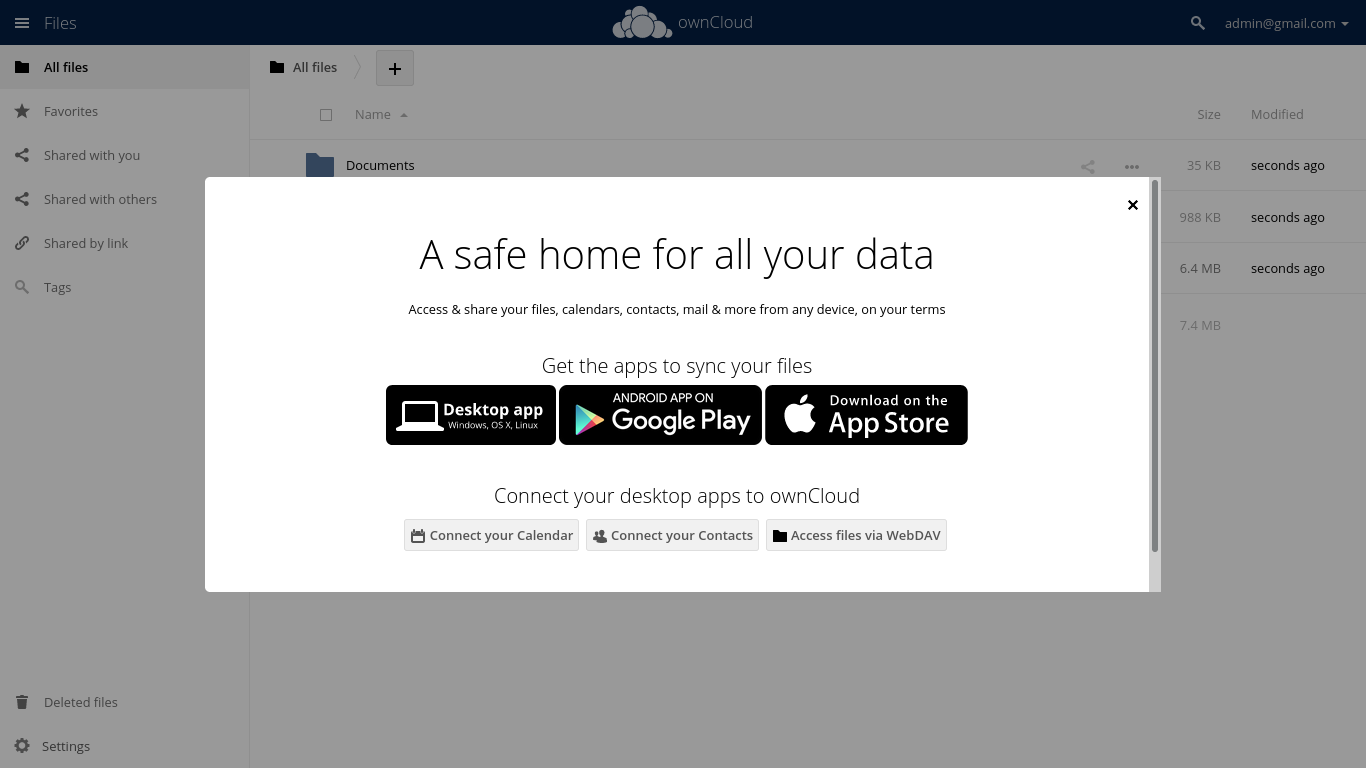
cd nginx-proxy-conf && docker-compose up --build -dNow, your Owncloud instance is running, and you can access it via your domain name.
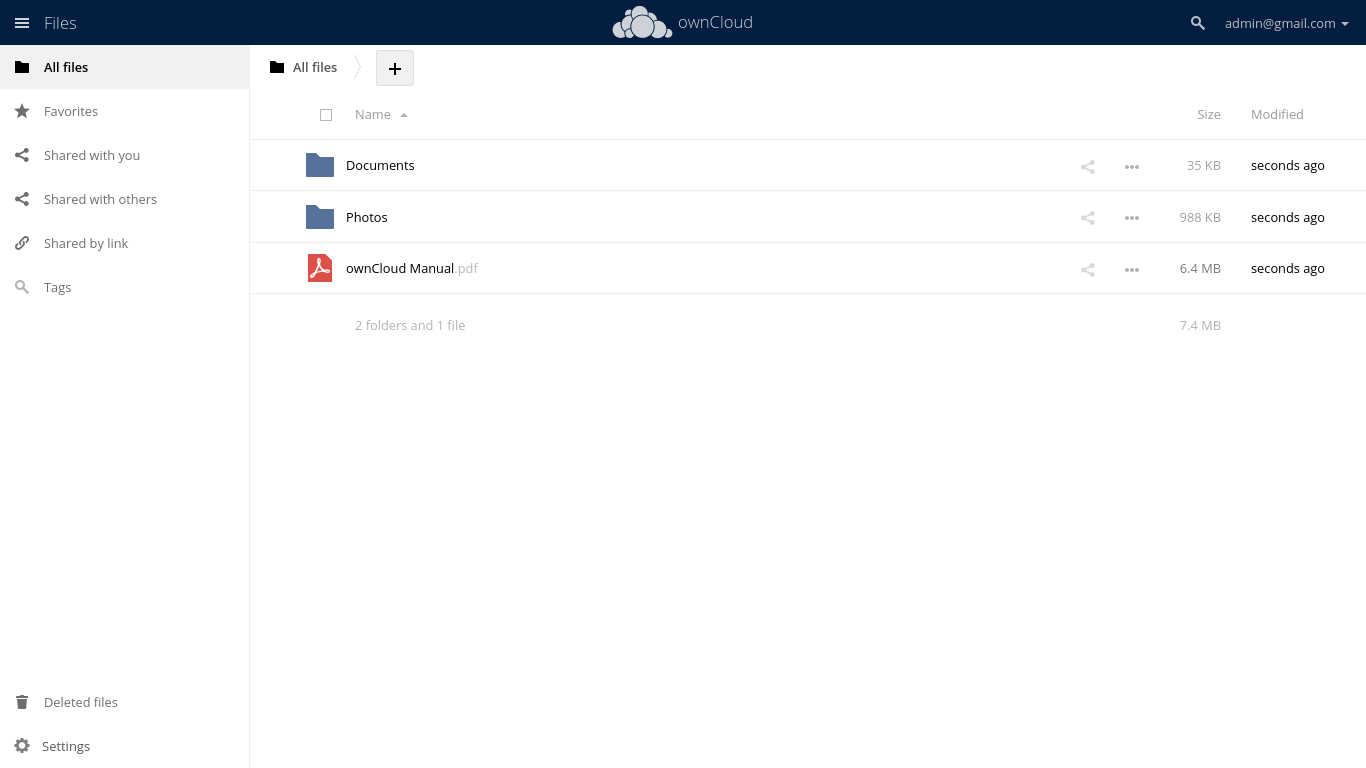
After logging in with our credentials, we arrive at the dashboard.
Wrap up
In this tutorial, we have explained to you how to deploy Owncloud in production in your Linux server with docker-compose and secure it with a free SSL certificate issued by Let’s Encrypt. Another thing you can do now is to deploy a keycloak SSO solution next to this to centralize authentication among all your application. It’s pretty easy at this step and doesn’t affect the previous installation. If you have any questions, leave a comment.
If you like this tutorial, you can buy me coffee. In the upcoming tutorial, we will explore Owncloud and discover what it allows us to do, and also explain how to connect Owncloud and keycloak SSO.

Hi, I’m Derick. I am a Software Engineer and DevOps pro. I specialize in turning complex business needs into automated workflows using Python, Odoo, and Go. I write engineering case studies here—sharing the architectural decisions and real-world code behind the solutions I build.