The tendency today in web applications is to have an admin panel where the admin can log in and manage different aspects of his application. In other apps, we need to build a user dashboard where users can manage their accounts in our application and access the different features we provide. To authorize access to each of those areas, we need to verify the identity of the user who requests access: It’s the authentication. In this tutorial, we’ll build an authentication system using Laravel Framework.
This blog post is a part of a series that introduces you to the Laravel world by building a simple contact form protected by Google ReCaptcha and an admin panel to manage messages sent through our contact form.
- Part 1: Your Amazing Initiation to Laravel Framework
- Part 2: How to build a contact form with Laravel Framework
- Part 3: A simple admin panel for a Laravel contact form
- Part 4: How to build an authentication system with Laravel (This tutorial)
- Part 5: How To Easily Delete Multiple Records In Laravel Using Checkbox
- Part 6: How To Add A Beautiful Delete Confirmation Message In Laravel
- Part 7: How to protect your Laravel forms with Google reCAPTCHA V3
It would be good if you can read the other tutorial before reading this. So, you’ll have a big comprehension of the app we are building and the starting code for this tutorial. Nonetheless, you can find the starting code for this tutorial here.
I-The LoginController class
First of all, we need to create a controller class to handle the authentication system.
php artisan make:controller LoginControllerNavigate to app/Http/Controllers/LoginController.php and paste in the following code:
The index function
The index function present there is used to display the login form from where the user will enter their login and password to access our application.
The authenticate function
The authenticate function is responsible to authenticate users. The code below is responsible to check if the user’s credentials are sent in the request and are in a good format to use for authentication.
 $credentials = $request->validate([
     'email' => ['required', 'email'],
     'password' => ['required'],
  ]);
The following code uses the Auth class and his static method attempt to try to authenticate the user. If the authentication succeeds, the user is redirected to the page where we list all our messages.
 if (Auth::attempt($credentials)) {
      return redirect('/admin/view-messages');
  }
If the authentication failed, we return to the login form with an error message.
The logout function
The logout function also used the Auth class and his static method logout to disconnect the user. After logging out, we invalidate the user session and redirect him to the login form.
II- The routes
Now, our actual routes/web.php file looks like this:
Note that we have added three new routes in our web.php file.
Route::get('/login', [LoginController::class, 'index'])->name('login');
Route::post("/authenticate", [LoginController::class, 'authenticate']);
Route::post("/logout", [LoginController::class, 'logout']);
The first one is used to display the login form. The second one is used to authenticate the user and the third one is to disconnect users. The thirst route is only accessible to connected users.
As we want to protect our admin’s routes, we’ll use auth middleware for that. We have discussed more the role of the middleware here. Read that specific part to have a quick understanding of middleware. So, we have grouped all our protected routes with the authentication middleware. That means every time a user will request one of those routes, the authenticate middleware will check if the user is authenticated before sending the request to the controller. If not, the user is redirected to the login page.
Note: You need to give the name “login” to the route responsible to display your login form or you can modify app/Http/Middleware/Authenticate.php to give the name of the route you want to redirect if the user is not authenticated.
III-The login view
Create a file in the folder resources/views called login.blade.php and paste in the following code:
This is a very simple login form. The most interesting part of this form is the following code:
 @if ($errors->has('email'))
      <div class="alert alert-danger">
             {{ $errors->first() }}
        </div>
  @endif
When the authentication failed and we return the user to the login form, we save the error message in the errors variable. Thus, we check if that variable contains an error with the keys “email” as we have indicated when returning the errors, if so, we display the error message.
IV-The database seeders
In this tutorial, we haven’t created a registration system yet. We’ll use the concept of seeder provided by Laravel to create a user in our database to test our login system. The seeder as a reminder is a mechanism provided by Laravel to populate our database with fake data. Navigate to database/seeders/DatabaseSeeder.php and add the following code:
Here in the “run” function, we create a new instance of a user, add his name, email, and password, and save. Go to your terminal and type one of the following codes.
- If it is your first migration since you have cloned the project, run the following command to apply migrations and seed, by the way, the database.
php artisan migrate --seed- if not, run the following command to only seed your database
php artisan db:seedThen, start your development server with the command php artisan serve and navigate to http://127.0.0.1:8000/login to test your login system.
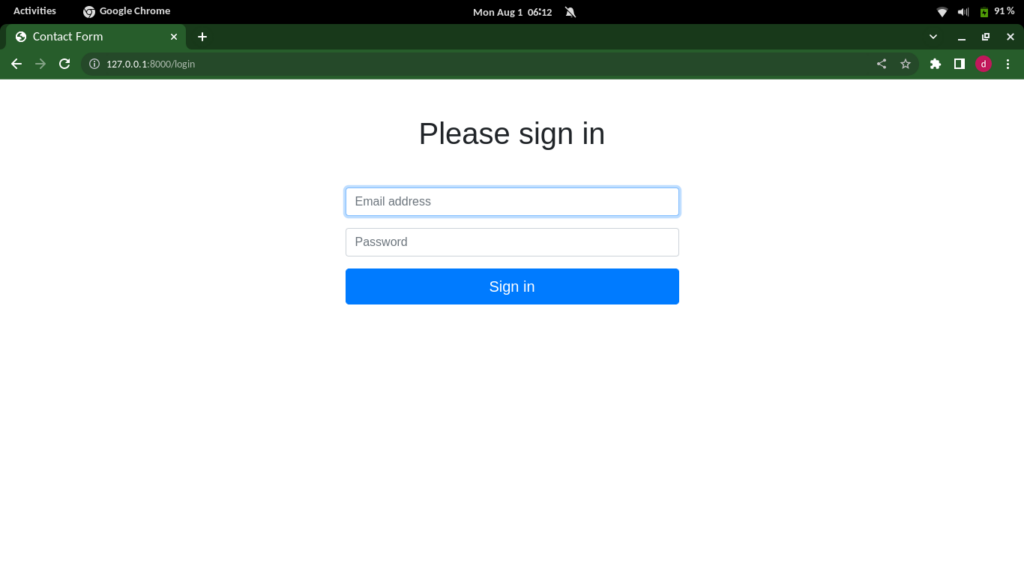
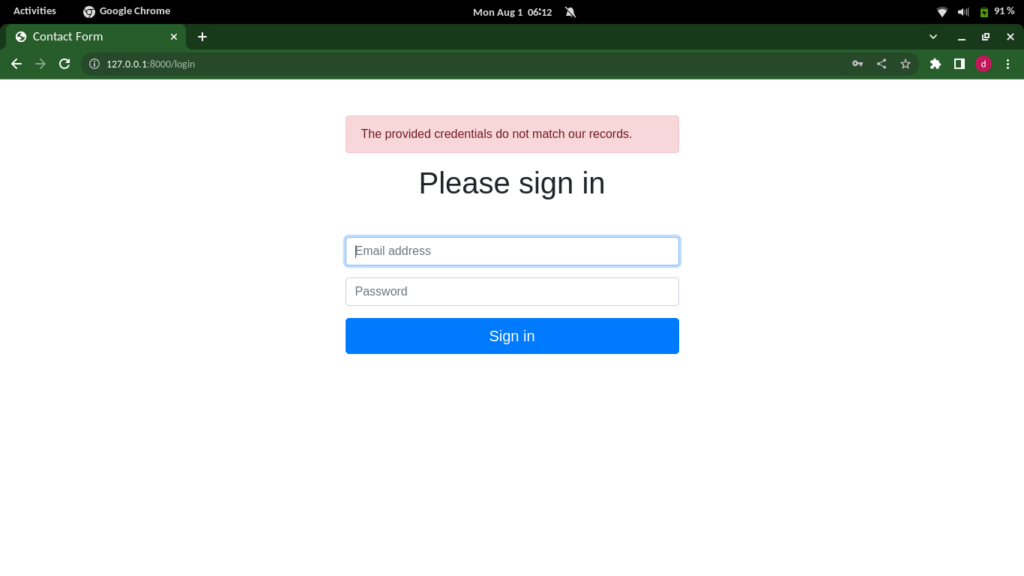
V- The logout button
We’ll add a logout button on the admin panel as shown in the following image
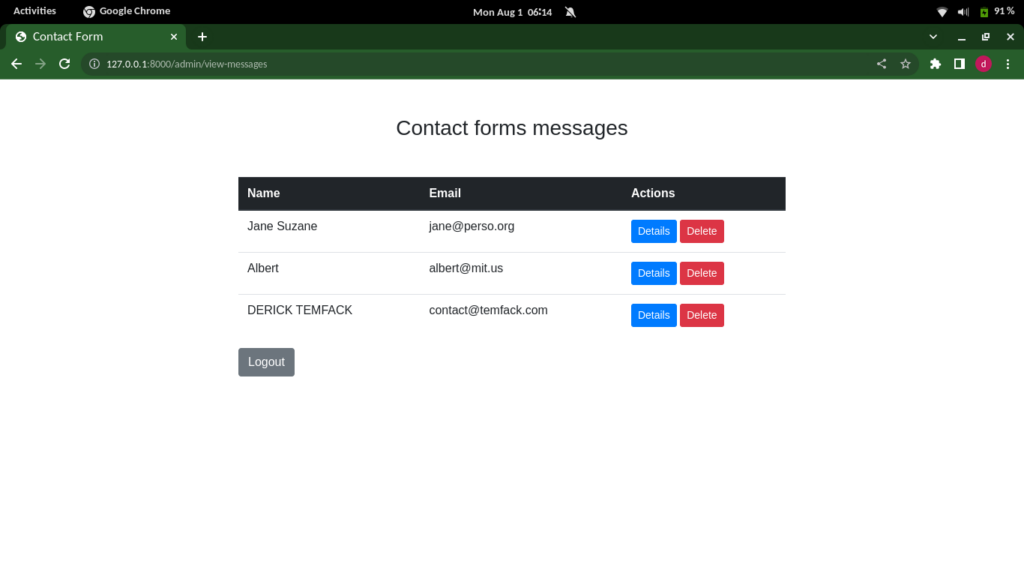
Navigate to resources/views, open list-messages.blade.php, and add the code for the logout button directly after the table.
<form method="post" action="{{ url('/logout') }}" style="display:inline">
   @csrf
   <button type='submit' class="btn btn-secondary ">Logout</button>
</form>
Now, you have a fully functional logout button.
Conclusion
In this tutorial, we have built a Login/Logout system for a Laravel application. If you have any questions, Leave a comment and we’ll help you solve your problem. The complete code for this tutorial is available here.
If development isn’t your field, consider hiring Laravel specialists who can supercharge your application’s scalability and performance with precision.

Hi, I’m Derick. I am a Software Engineer and DevOps pro. I specialize in turning complex business needs into automated workflows using Python, Odoo, and Go. I write engineering case studies here—sharing the architectural decisions and real-world code behind the solutions I build.
7 thoughts on “How to build an authentication system with Laravel”