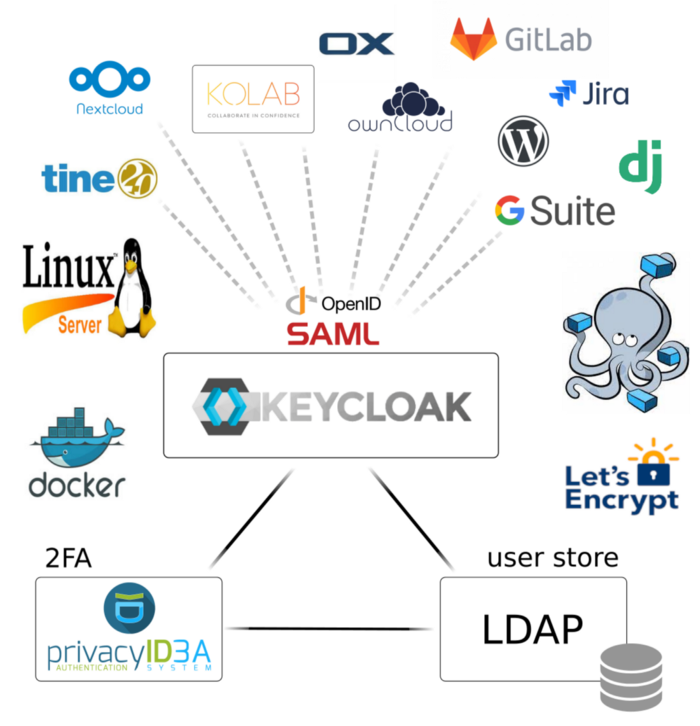
An SSO( Single Sign-On) is a system that allows users to access multiple services/platforms with the same credentials. This system is very popular today and is used by the giants of the internet (Google, Facebook, etc). There are many platforms that sell this type of service among OneLogin, okta, etc. In this story, we’ll set up our own SSO servers using keycloak.
Prerequisite
- A Linux Server with SSH Access
- Docker and docker-compose installed on this server
- A domain name point to this server
To perform this tutorial, you can easily create a small droplet(Linux Server) for free on DigitalOcean. DigitalOcean offers 200$ free credits for 60 days. Everything being said, let’s focus on the tutorial.
What is KeyCloak?
KeyCloak is an open-source Identity and Access Management that allows us to add authentication in our application and secure service with minimum effort. It is a community project sponsored by Red Hat. Red Hat uses it in their own products and also distributes it to their client as Red Hat SSO.
KeyCloak is a Java project and is based on two popular protocols: SAML 2 and OpenID Connect. With keycloak, you can easily enable social login or use an existing LDAP/Active Directory as a user federation.
Keycloak is a very extensible tool and it gives you the possibility to customize it based on your need. It’s the best free SSO solution on the market and you can definitely choose it without being afraid if you want to set up your own SSO server. For further information, check their well-written documentation.
Installation of KeyCloak
I have already prepared a docker-compose file for you and it is the one that I use to deploy keycloak in my production environment.
Our docker-compose file exposes two services, one volume, and one external network.
Postgres service
Keycloak supports many databases like Postgres, MySQL/MariaDB, Oracle, etc. We use in our case Postgres.
Keycloak service
This service depends on Postgres service. This means that the Postgres service will start or stop before the keycloak service. Keycloak has many different images in the Docker hub and we will use the one provided by the JBoss community. As we use Nginx-proxy as a reverse proxy and acme-compagnon for Let’s Encrypt certificate, we need to add three special environment variables in the keycloak service.
- VIRTUAL_HOST indicate the domain name (or subdomain name) that keycloak will be accessible through (VIRTUAL_HOST=auth.example.com)
- LETSENCRYPT_HOST contains the same value as VIRTUAL_HOST and indicates to acme-compagnon to ask for SSL certificate for this domain (or subdomain ) to Let’s encrypt
- LETSENCRYPT_EMAIL contains a valid email address required by let’s encrypt servers to issue an SSL certificate for our domain and to send notifications when the SSL certificate will be expired.
- PROXY_ADDRESS_FORWARDING is set to true when we run keycloak behind a reverse proxy. Without this variable set to true, we can’t log in to our keycloak server.
network
We use the Nginx-proxy container as a reverse proxy and it required all containers to be connected to a unique network so that it can easily handle traffic to them.
The .env file is the one that contains all environment variables we use in our docker-compose file. We place it in the same directory with the docker-compose file and it’s automatically discovered when we make a docker-compose up. You can modify it according to your need. If you don’t want to copy and paste the content of those files, you can clone the project with all this configuration from my repository.
If you want to copy and paste, let’s do it. First, create a directory in your Linux server for this project.
mkdir keycloak && cd keycloakSecondly, copy the content of my docker-compose file and paste it into the docker-compose file you create in this directory.
nano docker-compose.ymlDo the same with the .env file.
nano .envStart keycloak service
Before starting keycloak, we need to create the external network that we declare in our docker-compose file.
docker network create nginx-proxyAfter that, we can run our container.
docker-compose up --build -dWhen starting keycloak for the first time, there are no users in his database, we need to create an admin user to manage our keycloak instance. To do that, use the following command:
docker exec keycloak \
    /opt/jboss/keycloak/bin/add-user-keycloak.sh \
    -u admin \
    -p admin \
&& docker restart keycloak
This command will add a user in the keycloak database with username admin and password admin. Change the password to a more secure one. Now, our keycloak server is ready. We can now install Nginx-proxy to make it accessible.
Installation of Nginx-proxy and acme-compagnon
Nginx proxy is a container running Nginx and docker-gen which is a service that generates reverse proxy configs for Nginx and reloads Nginx when containers are started or stopped.
This container is mounted on a docker socket to capture all events created by docker to be able to proxied any container with an env variable VIRTUAL_HOST define. All containers that want to be proxied by Nginx-proxy must be connected to the same network with it. To know more about Nginx-proxy, visit the GitHub of the project.
ACME-compagnon is a compagnon for Nginx-proxy responsible to automate the creation, renewal, and use of SSL certificates for proxied Docker containers through ACME protocol. For more information about acme-compagnon, visit the GitHub of the project.
Again, I also have a prepared project in my repository to use without further configuration. You just need to clone and run it. I also use this template in all my projects. With this configuration, it’s easy to make things work in less than a minute. Just use the following command.
cd ~
git clone https://gitlab.com/tderick/nginx-proxy-conf.git
docker-compose up --build -d
Check your domain name and you will see the following output.
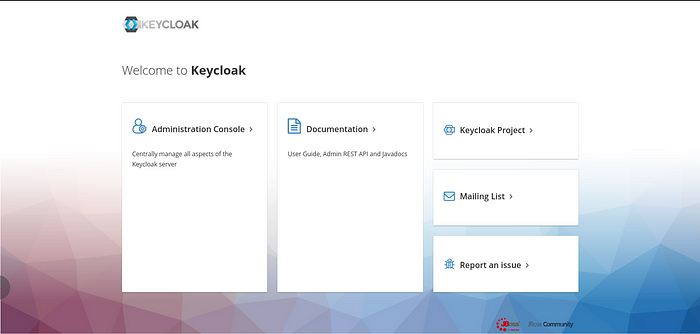
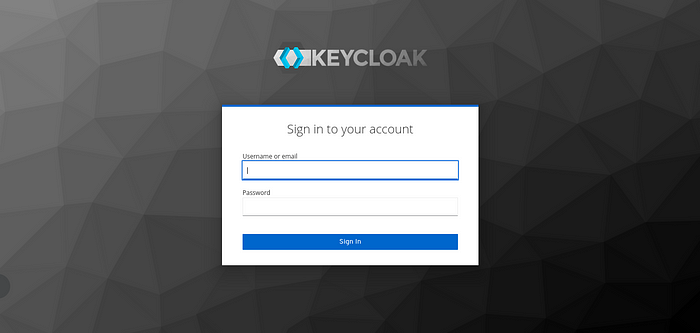
Click on “Administration console” and log in with the credential we created early.
Congratulation, you have deployed an SSO system in your own server using docker and protected it with a free SSL certificate issued by Let’s Encrypt. You can use it as an SSO solution for your NextCloud instance. If you encounter a problem during the process, leave a comment and I will help you.
In the upcoming stories, we will explore more keycloak. If you want a tutorial on a specific use case, just leave a comment and I will make it for you.

I am a Master’s student in computer science passionate about DevOps, Cloud Computing, AI, and BI. I am also a web developer, especially with Django and Laravel Frameworks. I love to share things that work for me with others to save them time searching through the internet to solve the same problem.
Amazing. thanks
If I have my nginx reverse-proxy completely separate from this environment, I think I need to get the edge mode set. (“–proxy edge” if running from the command line). Do you know how to set that in the docker format files?
In my case, my reverse proxy is completely separate from the current environment, You can modify it to use another reverse proxy server like Traefik.