The majority of applications present on the internet offer the possibility to upload files into their system and download most of them. In this piece of a blog post, we’ll explain how to handle file upload/download in Laravel Framework. If you’re ready, let’s jump in.
Step 1: Creation of a new Laravel project
composer create-project laravel/laravel uploadfilesStep 2: Creation of migration, model, and controller
php artisan make:model Files -m -cThen, modify migration to add the filename and path columns.
 public function up()
 {
        Schema::create('files', function (Blueprint $table) {
            $table->id();
            $table->string('filename');
            $table->string('path');
            $table->timestamps();
        });
 }
Modify the model Files by adding fillable.
class Files extends Model
{
    use HasFactory;

    protected $fillable = [
        'filename',
        'path'
    ];
}
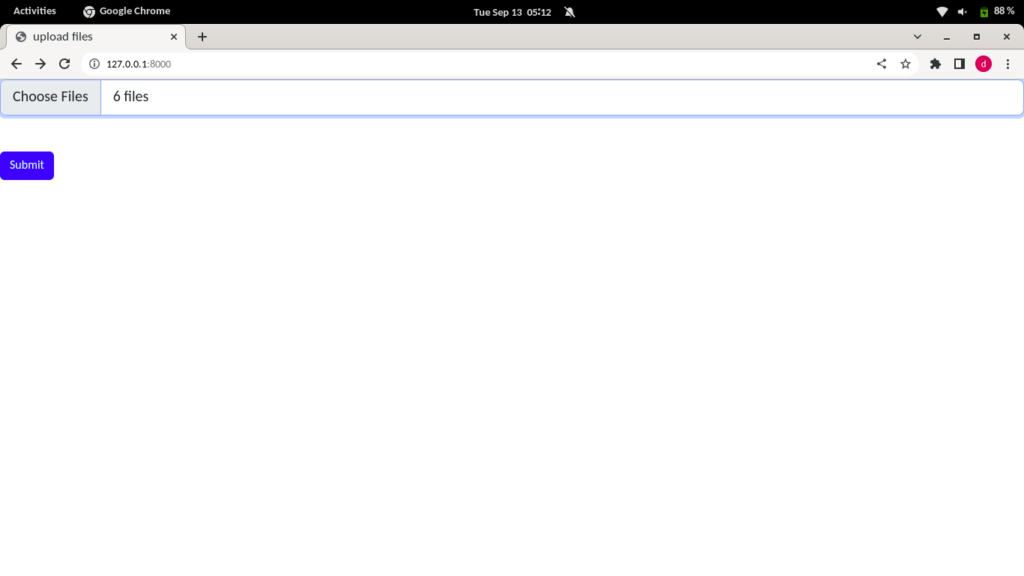
It’s time to complete our controller file. In the FilesController, add the method index responsible to display the form used to upload the files.
public function index()
    {
        return view('upload');
    }
After that, add the method responsible to handle uploading files to the server. This method is written in a way it can handle multiple files at the same time.
public function upload(Request $request)
    {
        $files = $request->file('files');
        foreach ($files as $file) {
            $filename = $file->getClientOriginalName();
            $path = $file->store("documents", 'local');

            $upload = new Files;
            $upload->filename = $filename;
            $upload->path = $path;
            $upload->save();
        }

        return redirect('/');
    }
The method store responsible to store the files takes in his second parameter the disk driver to determine where we’ll store our file. In our case, we use local to indicate we’ll store the files in our server. This parameters can be “local”, “ftp”, “sftp”, “s3”. To know how to configure each driver, go to the documentation.
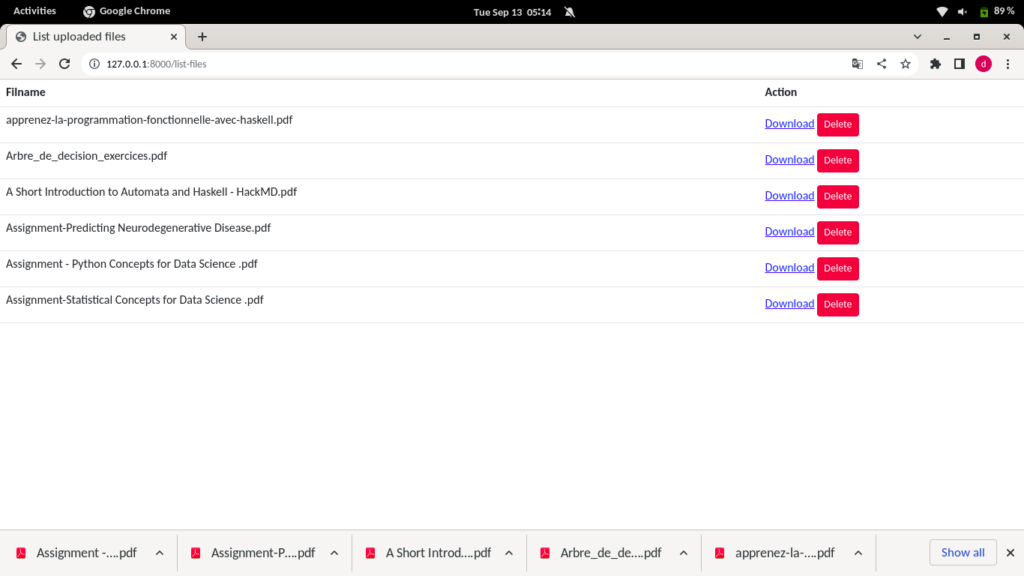
The method listfiles is responsible to display all the files we have already uploaded in the view called listfiles.
public function listfiles(Request $request)
    {
        $files = Files::all();
        return view("listfiles", compact("files"));
    }
The method downloadfile is responsible to force the browser to download a file.
public function downloadfile($id)
    {
        $file = Files::findOrFail($id);
        return Storage::download($file->path, $file->filename);
    }
Finally, the method deletefiles Is used to delete files from the server disk where the file is stored.
    public function deletefiles($id)
    {
        $file = Files::findOrFail($id);
        Storage::disk('local')->delete($file->path);
        $file->delete();
        return redirect('/list-files');
    }
The complete code of this file is the following:
Step 3: Modify web.php
Add the following route in web.php corresponding to every method in our FilesController.
Route::get('/', [FilesController::class, 'index']);
Route::post('/upload-files', [FilesController::class, 'upload'])->name('fileuploads');
Route::get('/list-files', [FilesController::class, 'listfiles'])->name('listfiles');
Route::get('/downloadfile/{id}', [FilesController::class, 'downloadfile'])->name('downloadfile');
Route::delete('/deletefile/{id}', [FilesController::class, 'deletefiles'])->name('deletefile');
Step 4: Create views
Create two views with the following content:
Note: In upload.blade.php, the input for file upload has the attribute name files[] to allow us to upload multiple files at the same time. Also, we can accept multiple types of files by adding their extensions in the accept attribute. e.g:
accept=".jpg, .jpeg, .png, .doc, .docx, .pdf"Testing
It is time to test our application.


Conclusion
In this tutorial, we’ve explained to you how to upload, download and delete files in Laravel. You can find the complete code for this tutorial here. If you have any questions, feel free to leave a comment and we will help you figure it out.
If development isn’t your field, consider hiring Laravel specialists who can supercharge your application’s scalability and performance with precision.

Hi, I’m Derick. I am a Software Engineer and DevOps pro. I specialize in turning complex business needs into automated workflows using Python, Odoo, and Go. I write engineering case studies here—sharing the architectural decisions and real-world code behind the solutions I build.


